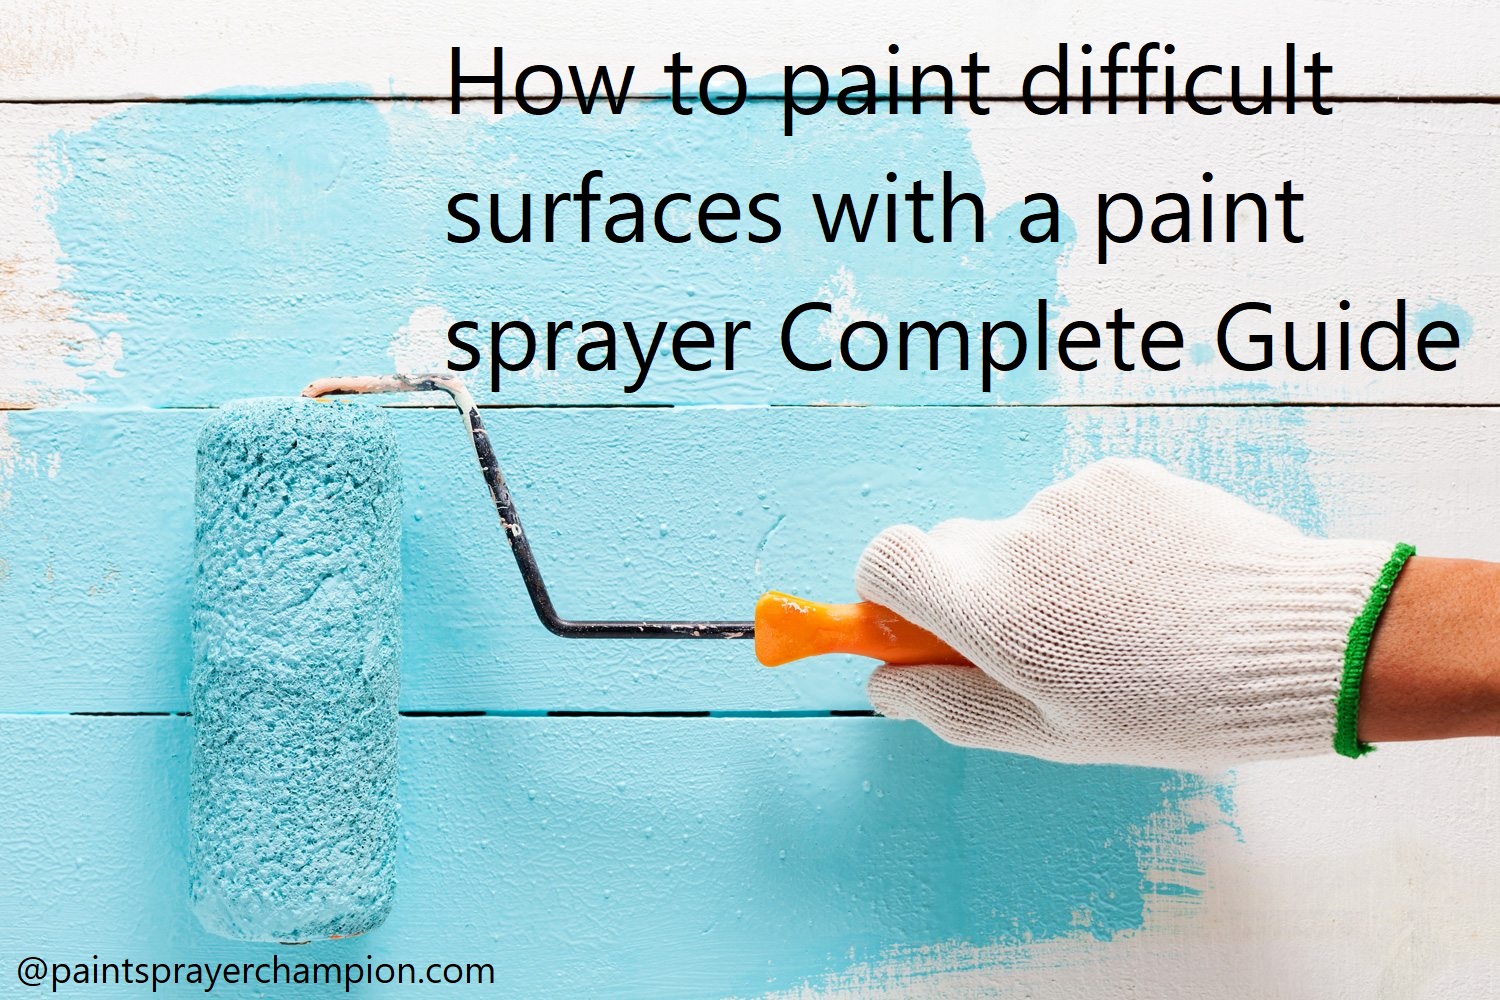
Have you ever wished to paint difficult surfaces with a paint sprayer, but have no idea how to get it done? Then this is the guide for you!
In this article you will learn step-by-step instructions to transform your difficult surfaces and breathe new life into them. Get ready to explore the endless possibilities of paint sprayers and make your surfaces look beautiful!
Paint sprayers are a great tool for quickly and efficiently achieving a professional-looking finish on almost any surface. Whether you’re painting walls, furniture, or cabinets, a paint sprayer can help you get the job done faster while also avoiding issues such as brush marks, runs and drips.
Before you get started with your project, it’s important to take the time to understand how each type of paint sprayer works and which one will work best for the surface you’re painting.
This guide will provide an introduction to paint spraying techniques, provide an overview of the different types of paint sprayers available on the market today, explain how to prepare surfaces for painting with a sprayer, and outline tips and tricks to make sure your project looks its best.
With this information in hand, you should be well on your way to creating professional-level results every time you pick up your paint sprayer. Read on for our complete guide to painting difficult surfaces with a paint sprayer!
Explanation of the importance of painting difficult surfaces
Painting difficult surfaces with a paint sprayer can be a daunting task, as there are several things to consider in order to achieve a professional-looking finish. Proper surface preparation and knowledge of the best tools and techniques are essential for achieving the perfect result. Therefore, it is important to understand why these surfaces require special attention and what additional precautions must be taken when working on them.
Typically, rough or uneven walls need more time to apply an even coat of paint with a brush or roller compared to smooth surfaces. To make matters worse, larger gaps and deep holes may require repair with spackling compound or joint compound before painting. This can add even more time and effort to the project. Also, any protruding details such as knob frames or window trim will need extra taping off prior painting – another extra step that could be avoided by using a sprayer.
Using a paint sprayer for difficult surfaces is often seen as an attractive alternative due to the fact that it applies the material evenly throughout in no time at all – helping reduce both labor costs and completion times drastically in many cases. Moreover, it helps minimize costs associated with hiring specialized equipment such as ladders or scaffolding required for high reach painting jobs thanks to its portability.
Overview of the benefits of using a paint sprayer
Using a paint sprayer can bring many advantages over other painting methods, such as the ability to achieve even coverage on difficult surfaces and a faster job completion time. When used correctly, paint sprayers offer more control than traditional brush and roller applications, allowing you to make detailed patches of color or texture on any type of surface. Paint sprayers are also very effective at creating a uniform finish of color and texture across a wide surface area in less time than by hand. Lastly, paint sprayers can be beneficial for more intricate projects since they provide a precise line of coating where needed without much effort.
In order to successfully apply paint using a paint sprayer, it’s important to be aware of the advantages that come with the tool, what surfaces are suitable for painting with it and how to use it appropriately. To ensure an effective outcome for your project, ensure that you understand all safety measures included with the use of the tool and are familiar with the variety of techniques available for different surfaces.
Importance of preparation
When it comes to painting difficult surfaces with an airless paint sprayer, proper preparation is key. The surface must be free of dust, dirt, loose paint and other contaminants that can block the spray from adhering the way it should. This includes areas like crevices, window frames and shutters, nooks and crannies in woodwork or trim, doors and door jambs. Additionally, some types of difficult surfaces may require special attention before painting.
Before beginning any project with a paint sprayer using a high-pressure setting for more difficult surfaces, you should start by sanding or cleaning the area you intend to paint. Wipe down all painted surfaces with a damp cloth to remove any dust particles and ensure that the surface is completely dry before applying primer or topcoat products.
If you are painting over stained or varnished wood surfaces such as cabinetry or furniture pieces, use a deglosser product prior to priming or painting in order to create a good bond between the coating and substrate. If needed use light sandpaper such as 120 grit sandpaper on metal surfaces followed by light cleaning to create an ideal base prior to painting with your airless sprayer setting at full pressure.
For softer substrates like asphalt shingle siding you will want to use additional tape (not masking tape) at door jams/frames and exterior electrical boxes as this will act as extra support for wider coverage of products when using an airless paint sprayer set at full pressure. Keep in mind that some substrates like metal will require an additional rust inhibiting primer coat prior to top-coating due to their corrosive properties depending on environment conditions.
Techniques for Painting Difficult Surfaces
Knowing which type of paint to use and the appropriate application technique can make a huge difference in how your painting project turns out. This is especially true when you’re dealing with difficult surfaces, such as concrete, brick, stucco, etc. The tips and techniques outlined below will help you understand how to best approach your challenging painting project.
- Techniques for Painting Difficult Surfaces
Concrete – Concrete is a challenging surface to paint, but with the right preparation and technique it can be done. It is important to prep the surface beforehand by pressure washing and removing any efflorescence (the white deposits that occur on some masonry walls). Use an oil-based primer specifically designed for outdoor masonry surfaces before you start painting with a top coat. You may have better results if you use an airless or air-assisted sprayer instead of a roller for the top coat application.
Brick – Brick may be one of the most difficult surfaces to paint because of its rough texture and water absorption properties. To prepare the surface properly it should be cleaned prior to starting. A high-pressure washer should be used on interior bricks while an outdoor brick wall should first be soaked to allow dirt and other environmental buildup to soften before using a pressure washer for cleaning. A brush or roller can then be used for both interior and exterior applications or alternatively, a sprayer can also be used if needed – just take extra care in masking off adjacent walls as overspray can occur due to higher psi settings that sprayers tend to utilize.
Adjusting the paint sprayer settings
When using a paint sprayer, it is important to adjust the settings correctly in order to achieve the desired results. You will need to adjust the nozzle size and fan pattern, as well as the pressure and flow rate of the paint or material being sprayed.
Nozzle size helps determine the width of your spray pattern, which affects the texture and evenness of your paint job. Generally, a smaller nozzle size is better for painting smaller surfaces. The fan pattern will determine how wide your spray pattern is — a wide fan creates wider patterns, covering more area faster; whereas a narrow fan creates thin patterns that are great for more precise areas like corners and edges.
Adjusting the flow rate controls how much paint that comes out of the tip at once – if you set it too low, you may not get full coverage; while if you set it too high, you may overload your surface with too much paint, creating an uneven finish. It’s best to start with a lower setting then increase until it’s just right for your project.
Finally, pressure must be adjusted in order to get an even finish on difficult surfaces like brick or stucco – this setting can be increased until you obtain an even layer of paint. Make sure not to set this too high though or you could damage your artwork in the process due to over-spraying.
Spray angles and patterns
While a sprayer can be used in many different ways to paint difficult surfaces, the choices of spray angle and spray pattern are important for achieving the desired finish. The most common options for spray angle are horizontal or vertical. It’s important to know which one is best for the particular surface being painted. The most commonly used spray angles are vertical rules such as quarter-circle and half-circle, and other shapes such as diamond and fanned out. In addition, the angle of the delivery should be considered in conjunction with the type of finish desirable.
The best choice for spraying pattern is based on what is being painted. It ranges from flat to round or fanning outwards as a wide cone shape. A round pattern will cover larger area quickly and makes it easier to cover circular objects such as wheels; fanning out shapes achieve a more uniform coating of some surfaces like a staircase rail or post; flat builds coverage slowly but works over smooth surfaces like wood planks; while randomized sprays work well over irregularly-shaped objects such as rocks and will give strength against wear in many applications. When deciding on a specific type of pattern, take into account the size, shape, texture and contour of the object you’re spraying.
Overlapping techniques
By employing striking overlapping techniques, you can achieve superior paint coverage on difficult surfaces while using a paint sprayer. It is important to practice overlapping technique as this will help in achieving the right consistency of painting. Without practicing, it is likely that you will apply too much or too little paint in some areas leading to patchy results. Overlapping will also help you get smooth edges by preventing visible drips or runs.
To create an effective overlapping pattern, begin by adopting the W-formation technique-: start with two horizontal passes at the left and right side of the surface and then three vertical passes above and below the first two so that all these passes overlap each other slightly (forming a W shape). This will provide thorough coverage with a minimum amount of bleed from one side to another and ensures an even finish with no conspicuous lines separating each pass. Make sure not to rush when overlapping as this can cause uneven areas and poor adhesion.
Distance from the surface
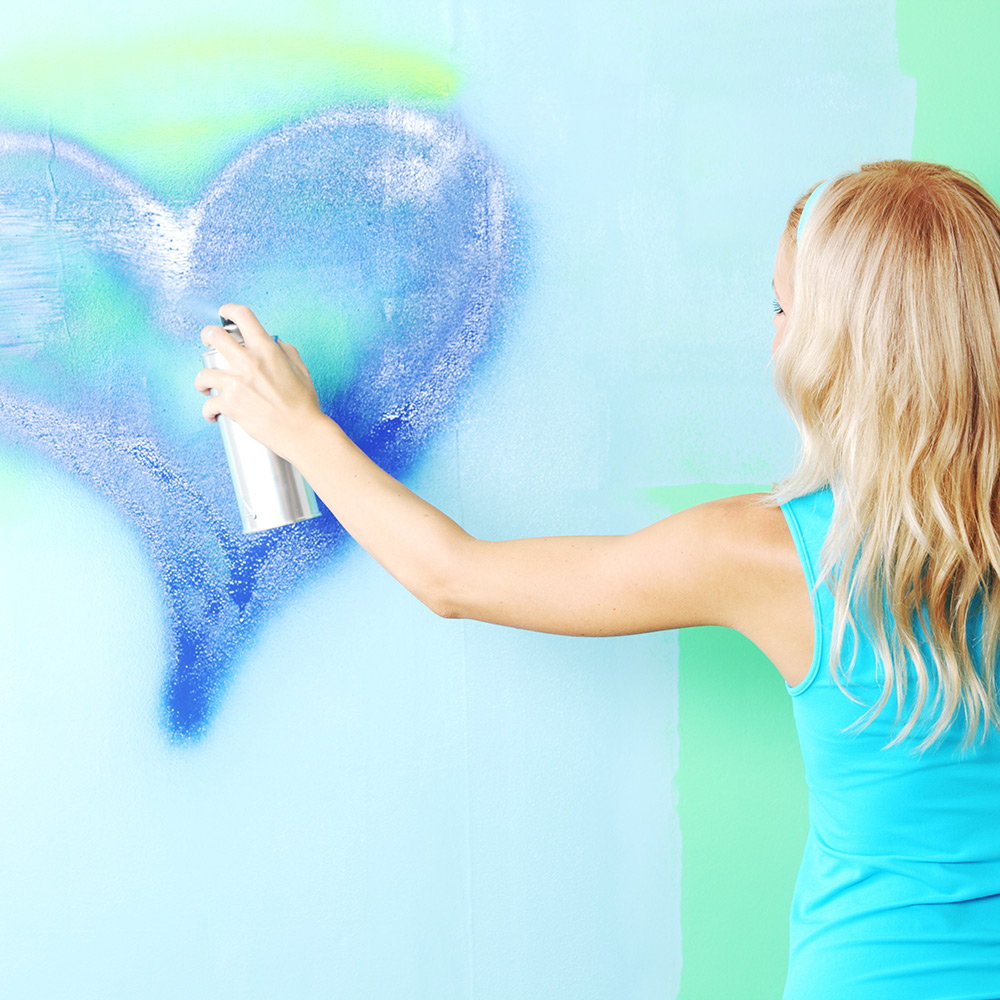
In order to get the best results, you should always maintain a minimum distance of six to ten inches from the surface when painting with a paint sprayer. Not keeping enough distance between the paint and surface could cause issues, such as an uneven coat, drips, sags and runs.
Additionally, too much distance can cause dry overspray that lacks adhesion and that ends up making your project look dull and under-saturated in color. The right distance will vary depending on the type of sprayer you’re using, with fine-finish spray guns typically requiring a greater working range than standard HVLP guns for optimal performance.
Number of coats
The number of coats you will need to fully cover difficult surfaces can vary considerably based on the surface material, painting conditions, and paint type. Generally speaking, the thicker the coat of paint, the less coats you will need for a complete coverage.
When painting difficult surfaces such as brick, wood and metal using a paint sprayer, two or more coats of paint may be required for complete coverage. Generally speaking, two thin coats are better than one thick coat of paint. Depending on your surface texture and other environmental factors such as humidity, it may take multiple coats to get the full results desired.
In very high humidity conditions (above 85%) or in temperatures above 95 degrees Fahrenheit (35 degrees Celsius), it is not advisable to use a paint sprayer because of the possibility of increased runs or sags which can make your paint look uneven and sloppy.
In these conditions it may be better to apply an additional coat using a brush or roller for a smooth finish. Experimenting with different techniques is key to achieving the best results when painting over difficult surfaces with a sprayer.
Maintenance and Cleaning
Having a well-maintained paint sprayer can help improve your results and extend the life of your equipment. To properly maintain your sprayer, it’s important to follow a series of specific steps.
Before you begin cleaning, make sure to unplug the paint sprayer and let it sit for several minutes to let any residue cool off. Once cooled, disassemble the paint sprayer as per manufacturer instructions and clean each component separately using either soap and water or a specifically designed cleaner.
When possible, remove metal components from the wetted parts and put them in an ultrasonic bath with a cleaning solution formulated for removing lacquer-based paints or other non-water based coatings. Pay close attention to the amount of time spent in this type of bath, as leaving components in too long can possibly cause them to warp or become damaged.
Clean internal parts such as O-rings and air filters with either alcohol or denatured ethyl alcohol. This will help remove any residue that may have built up inside the unit during use. Rinse all parts with warm water once they have been cleaned, then dry thoroughly with a clean cloth before reassembling. Some parts may require lubricant if recommended by the manufacturer; read owner’s manual instructions carefully before applying lubricant to any components not previously mentioned above (such as shafts).
Finally, apply light coat of vegetable oil on external surfaces of the pump before storage in order reduce corrosion on metal surfaces during extended storage periods between uses.
Cleaning the paint sprayer
A paint sprayer is a great tool for completing many painting jobs around the house and for providing a professional finish. However, it is important to be aware of potential pitfalls related to the use of a paint sprayer. One of such pitfalls is when you are working with a surface that is especially difficult to clean.
Cleaning a paint sprayer correctly and properly should not be taken lightly as it can help prevent blocks and clogs in your unit and can also reduce wear-and-tear over time. While cleaning an ordinary surface should not take too much time, if you are working with more difficult surfaces such as metal or textured walls there are additional steps which need to be taken in order to ensure that your paint sprayer works properly and efficiently.
When tackling particularly tough surfaces, you need to make sure that all residue from previous projects has been removed from both the housing unit itself as well as from the nozzle/tip orifice area. This can usually be done by using various cleaning solutions, brushes or scrapers depending on how much build-up has occurred on the surface you are working with.
Once all residue has been removed, it is highly recommended that you take additional steps including performing solvent flushes on certain components of your paint sprayer system in order to make sure all dirt particles have been completely eradicated before going any further with your project. Make sure that all dried paint particles have been completely obliterated before proceeding!
Storing the paint sprayer
Before storing, it is important to clean the paint sprayer thoroughly. To do this, follow the steps below:
- Remove any paint residue or clogs in the spray gun tips or hose with a stiff brush.
- Flush out the paint and solvent residue from both the inside and outside of the sprayer using appropriate cleaning solvents and container.
- Ensure all parts have been dried off before reassembling and storing them properly in a secure area, preferably away from corrosive chemicals or extreme temperatures.
- If needed, apply a light coat of oil on exposed metal parts such as valves and seals to prevent rusting and deterioration of rubber components for an optimal condition when you use your sprayer next time that it will be ready for any tough painting job you may encounter again!
Conclusion
In conclusion, painting difficult surfaces with a paint sprayer is possible with the right preparation and knowledge. Applying several coats of paint and following the manufacturer’s instructions carefully can help ensure that your finishes will look great.
Additionally, understanding which type of sprayer to use as well as the ideal painting viscosity can help you have a successful project. With preparation and practice, you will be able to achieve professional results in short order.
FAQ’S
How do you spray paint a difficult area?
To spray paint a difficult area, use a small or narrow spray tip and hold the sprayer close to the surface. You can also use a spray shield or masking tape to protect surrounding areas.
How do you spray paint a large surface?
When spray painting a large surface, use a wide spray tip and hold the sprayer at a consistent distance from the surface. Start at one end and work your way across in a steady motion.
Is it hard to paint with a paint sprayer?
Painting with a sprayer can be more challenging than using a brush or roller, as it requires more setup and control. However, it can also be faster and provide a smoother finish.
How do you get a smooth finish when spraying paint?
To get a smooth finish when spraying paint, start with clean and properly prepared surfaces, use the right spray tip and pressure, and apply multiple thin coats with a consistent motion.
What is the hardest way to paint?
The hardest way to paint is usually with a brush, as it can take longer and require more skill to achieve a smooth and even finish.
What is the secret to spray painting?
The secret to spray painting is to properly prepare the surface, choose the right spray tip and pressure, and apply multiple thin coats with a consistent motion.
Why is my spray paint not spraying smooth?
Spray paint may not spray smoothly if the surface is not properly prepared, the spray tip is too small or clogged, or the pressure is too low or high.
How many coats of spray paint?
The number of coats of spray paint needed depends on the color and coverage desired, but typically two or more thin coats are recommended.
Why does paint feel rough after spraying?
Paint may feel rough after spraying if the surface was not properly prepared, the paint was not applied evenly, or the temperature or humidity were not ideal.
Is it better to use a paint sprayer or roller?
Whether to use a paint sprayer or roller depends on the project and personal preference. A sprayer can be faster and provide a smoother finish, but it requires more setup and control. A roller is simpler and may be better for smaller projects or textured surfaces.
See Also:
- Best paint sprayer for trim
- Best paint sprayer for interior walls
- Best air compressor for paint sprayer
- Best paint sprayer for furniture
- Best paint sprayer for fence
