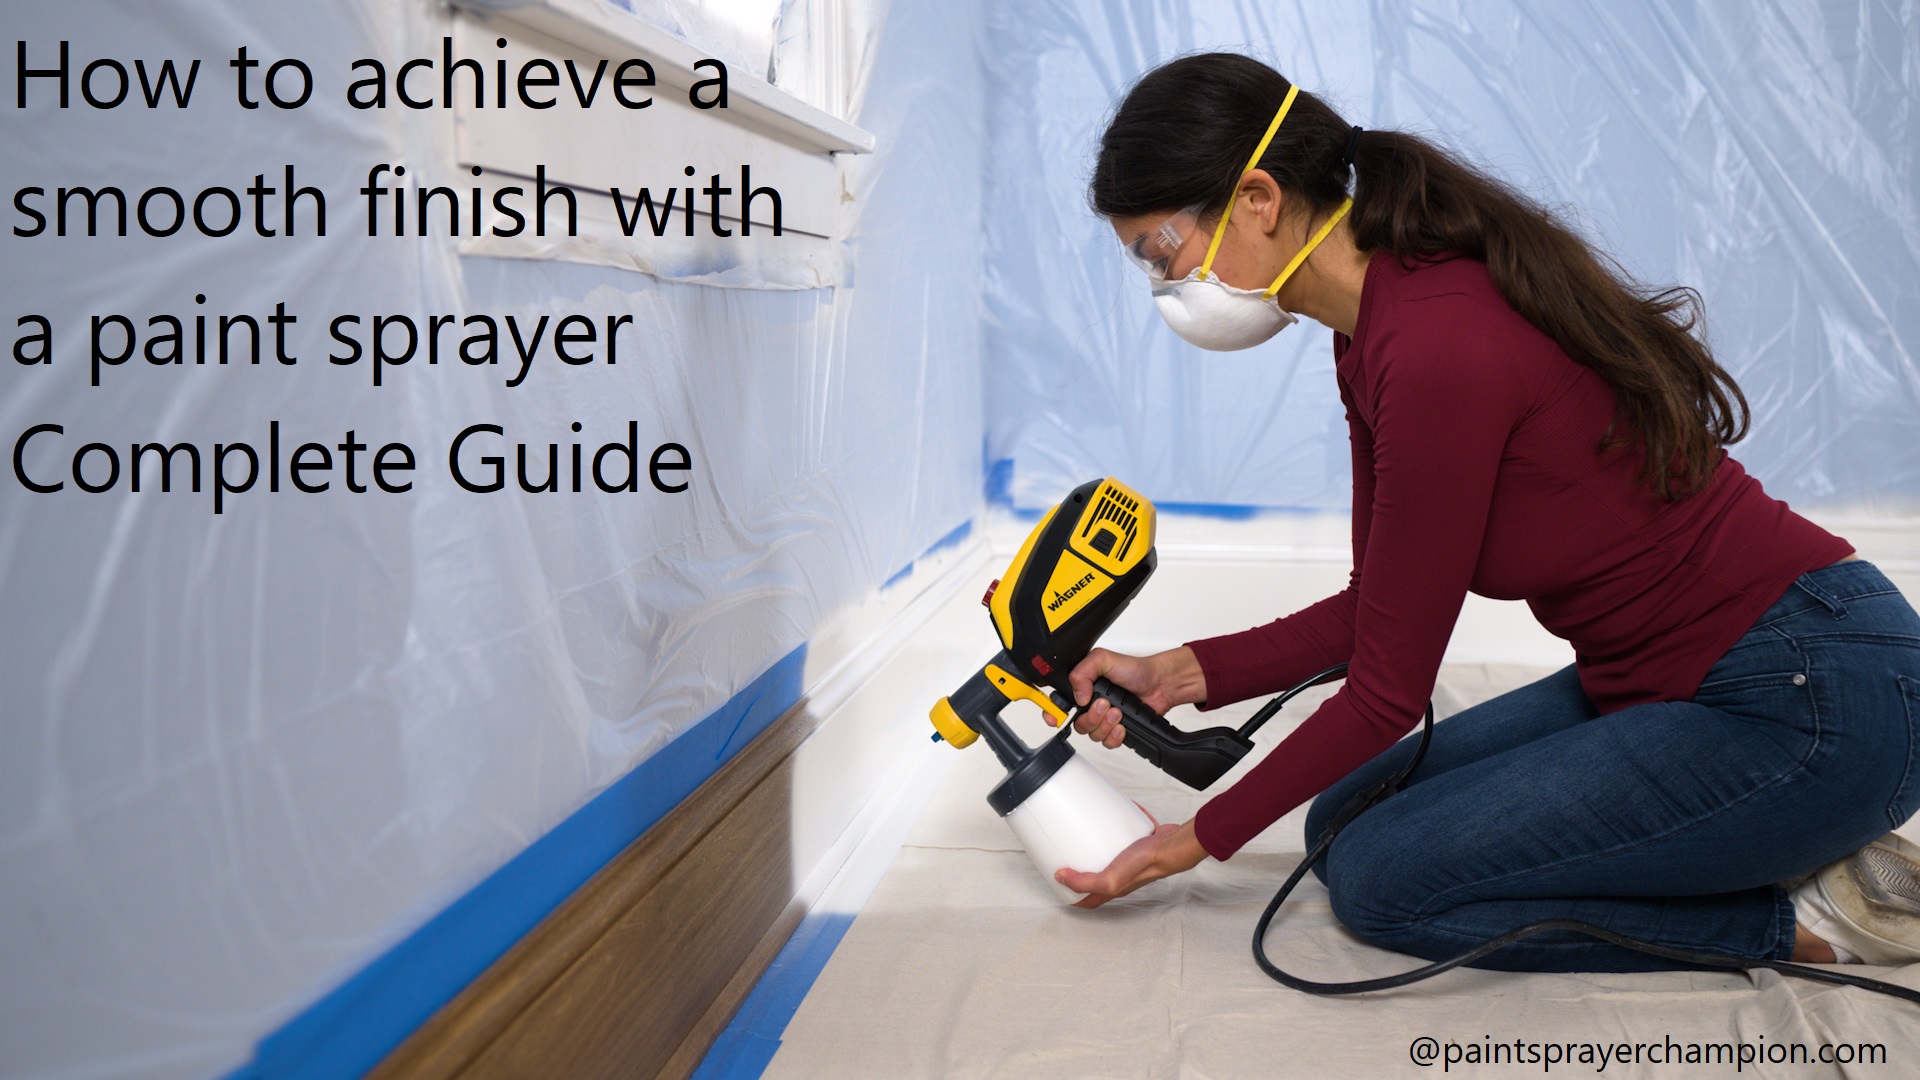
Has your home been in need of a fresh coat of paint? Are you looking for a way to get a smooth finish without having to hire a professional? You’re in luck!
In this article, we’ll show you how to use a paint sprayer to achieve the perfect finish. Our comprehensive guide will help you tackle this project like an expert.
Achieving a smooth and even finish with a paint sprayer is a process that requires preparation, practice, and patience. But, with the right tools and techniques your paint job will look professional. This guide will provide detailed instruction on how to use a paint sprayer to produce perfect results every time.
We’ll cover topics such as setting up the gun, adjusting it for optimal performance, selecting the right materials, controlling overspray and drips, applying thin coats of paint, aiming and controlling pressure for the best coverage, texturing techniques to achieve various textures like stippling or ragging on walls, cleaning up after using the gun and proper storage. These are all important aspects of getting great results with a paint sprayer.
Explanation of the importance of achieving a smooth finish with a paint sprayer
When it comes to painting any area, the result you get depends entirely on the type of equipment you use. Painting with a paint sprayer is a great way to get a smooth finish and great results. Achieving a smooth finish while using a paint sprayer requires precise equipment setup and proper technique.
The right size tip is essential when it comes to creating a smooth finish. If you use too small of a tip, there won’t be enough coverage, while too big of one will create runs in your coat of paint. Using the right tip size will ensure even coverage across your surface and minimize brush marks or other imperfections. Additionally, high-quality spray paint should be used instead of cheaper brands that might contain more particles or clog easier. When using multiple colors for your project, make sure to use the same brand for each color for best results.
Applying even pressure and moving with consistency are both very important in order to achieve a smooth finish when spraying paint with any type of sprayer. Moving too quickly can cause splotches or runs in your paint coat, so practice makes perfect! Make sure you practice on some scrap wood or paper before attempting any large projects.
Finally, always allow enough time for the coats to dry before adding any additional layers, as this could lead to smudging or other cosmetic nightmares down the line! If done properly and with enough diligence, achieving a beautiful finished look with any kind of spray painter can be achieved easily. With patience, practice and following these tips above anyone can learn how to use an airless or HVLP paint sprayer correctly and efficiently!
Brief overview of the steps required to achieve a smooth finish
Using a paint sprayer offers a convenient, efficient and fast option for painting projects. Paint sprayers disperse paint in an even layer which can be difficult to achieve with traditional painting techniques. However, it requires some skill to master it and produce a smooth finish without any drips or blotches. Here is an overview of the steps required to achieve a smooth finish for your project:
- Selection of Equipment: You will need to select the right paint sprayer, nozzle size and type of material that you will use depending on your surface type and the intensity of the job.
- Preparation: Ensure that you prepare the surface thoroughly by cleaning it, sanding it down and priming it before you begin spraying. This step is important to ensure that the finish looks consistent and flawless.
- Spray Pattern: Next, practice the appropriate spraying pattern, making sure that you overlap each pass by 50%. Start at one corner of your surface and spray in an up-down direction until you reach the end, then turn around and start again at the beginning for each row or pass until coverage is achieved.
- Dilution: You may need to thin out your paint before using it depending on what type of material is being sprayed on or if you require extended drying time between coats (for outdoor surfaces). Always check manufacturer instructions before doing so as too much dilution could result in streaking or other imperfections in the finished product which may require more coats elsewhere to blend it out evenly.
- Technique: Make sure not to move too quickly as this can cause runs or splatters – keep a steady pace when operating your paint sprayer for a smooth finish! Get familiar with different nozzle settings in order confuse changes in pressures correctly as well as manage pressure appropriately when releasing trigger locks/disengaging auto-shutoff functions etcetera should they apply during use on various materials & surfaces; these are important aspects related specifically with airless types systems being utilized appropriately according their design parameters & specifications outlined per safety & construction industry standards.
Preparing the surface
The surface that you are going to be painting must be prepared properly to get a smooth finish with a paint sprayer. Preparation of the surface is essential because it ensures that the paint will bond correctly and evenly to the surface, resulting in a good-looking and lasting finish.
To prepare your surface for painting, begin by thoroughly sanding it with fine grit sandpaper. Make sure to focus on smoothing out any rough spots or bumps from previous paint layers as these can interfere with the even application of paint from the sprayer. Once you have sanded down your entire surface, use a damp cloth to wipe away any dust or debris left behind.
Next, make sure that you have cleaned off any dirt or grease that is present on the surface before beginning your painting project. This will ensure that any dirt or grease present does not interfere with proper bonding of the paint particles and achieve an even layer without patches or streaks across the wall or furniture piece. You can use warm water, soap, and a sponge/cloth to clean off any sticky residue before getting started with your paint spraying project.
Cleaning the surface
Cleaning the surface is a critical step for achieving a smooth finish with paint sprayer. Remove any dirt and debris from the area where you are working and be sure to wipe away any previously painted surfaces. Tackle grease and oil spots with appropriate solvents, such as mineral spirits or odorless paint thinner. Wipe down tiled surfaces with an all-purpose cleaner, such as diluted dishwashing liquid.
A damp cloth should be used to collect dust and feather edges prior to painting trim. Once you’ve completely cleaned the area, allow it to dry before applying primer and paint.
Sanding the surface
Sanding the surface is an important step when using a paint sprayer. A smooth surface not only helps to ensure that the finish is even and uninterrupted by runs, but it also produces a professional-looking finish. Depending on the type of surface being painted, you may need to sand it before or after priming. Here are a few tips for sanding the surface:
-Clean the area that you are going to be working on with a mild household detergent and water or other appropriate cleaner. This will remove dirt, dust and other debris from the project before beginning work.
-Use an electric sander whenever possible for larger surfaces, such as doors and walls. This will speed up the process and make it easier to achieve an even finish. Make sure to choose the right grit of sandpaper for your project – too coarse could damage wood surfaces while too fine could leave unsightly streaks in paintwork.
-For small or detailed surfaces, hand sanding with fine grit wet/dry paper may be necessary. Working in small circular motions will help achieve a smooth texture without leaving any marks or grooves behind.
-Check your progress often by frequently wiping off excess dust with a damp cloth or rag. Look carefully over each area you’ve sanded before moving on to ensure your work is smooth and even throughout its entirety.
Filling in any holes or gaps
Once you’ve cleaned up any mess and brushed off all dust, it’s now time to fill in any holes or gaps. This is done with a ready-made filler compound. Take a putty knife and apply the compound into cracks or around windows, door frames and other architectural features.
Use the putty knife to create a level finish by smoothing it out following the lines of the surface. Use more filler if necessary until all cracks are filled in completely. Allow the filler to dry completely before you begin painting with your paint sprayer.
Applying primer if necessary
When starting a painting project, you may need to apply primer before you proceed. Primer helps create a smooth finish with a paint sprayer and it is important to remember that the finer the finish of the primer or sealant, the smoother the results from your spray gun will be. There are two main types of primers you can use for different materials – polymer based and solvent based. Every type of primer will have specific instructions for application so make sure you read through them carefully before starting.
Polymer based primers should be rolled onto the surface with a foam roller or brush, avoiding getting too close to any mouldings or trim that might be present in your home or office. Solvent based primers tend to go on with more of a misty coverage than polymer-based products, so it’s usually best to hold your spray can at least 8” away from surfaces when applying it. In either case, make sure you wait between coats so they have time to dry fully.
It is also advised that you only work in a lightly ventilated room when priming any surfaces and while working with paint sprayers themselves as fumes can be hazardous if inhaled in high densities.
Choosing the right paint sprayer and paint
Choosing the right paint sprayer and paint for your project is an important part of achieving a smooth finish with a paint sprayer. It’s not as simple as just selecting any old paint sprayer off the shelf, as some types are better suited to different tasks than others.
The three most widely used types of sprayers include airless, HVLP (High Volume Low Pressure), and compressed air sprayers. An airless paint sprayer uses an electrically driven piston pump to push the coating material through the nozzle. This type of system produces a good quality finish on surfaces that require thick, sticky paints or coatings such as block fillers or waterproofing products.
HVLP systems use a compressor and a turbine to produce high volume air at low pressure levels, making them suitable for detail work such as furniture refinishing. They also work well with light-bodied materials such as stains and varnish. Finally, Compressed Air Systems use compressed air from an air compressor to atomize materials more slowly than either HVLP or Airless systems allowing for very fine control over particle size and speed of delivery for ultra smooth finishes.
The type of material you want to use will also be an important factor in determining which type of sprayer is best suited to your needs; if you are looking to apply solvent-based paints you should look into an HVLP system; however, if you need excellent coverage for water-based paints then late technology devices such as Airless have great results when used correctly. Late technology devices usually provide options like variable speed control which can further improve results in difficult applications or tight spaces where time is limited and precision must be achieved without sacrificing quality.
Types of paint sprayers
When choosing the appropriate paint sprayer for a project, it is important to consider the type of paint being used, the texture of the surface, and the desired equipment capacity. There are three main types of paint sprayers available on the market today: airless sprayers, HVLP (high volume/low pressure) sprayers and LVLP (low volume/low pressure) sprayers.
Airless Spray Guns
Airless spray guns are popular among professional contractors for interior or exterior applications. Airless guns have high production rates because they can atomize a wide range of coatings and produce a uniform flow rate regardless of pressure setting. As with all paint spraying methods, they require more setup time and more experience to use than other types of equipment.
High-Volume Low-Pressure (HVLP) Spray Guns
HVLP guns provide excellent results when used on existing construction projects that require finish work on both interior and exterior surfaces. They use significantly less material to cover larger areas because they have a lower transfer efficiency than most conventional spraying methods, making them ideal for fine finish work such as staining and clearcoat applications.
Low-Volume Low-Pressure (LVLP) Spray Guns
LVLP guns are very efficient at delivering small amounts of material over large surfaces at low pressures due to their restricted aircaps designs, which minimize overspray. This makes them perfect for precision work such as spraying detailed woodwork or certain types of staining jobs where accuracy is critical.
Types of paint
Paint projects may vary in scope, size and purpose, but one challenge will remain the same: getting a smooth finish. This can be especially difficult when using a paint sprayer, since creating an even coating of paint is essential for a flawless finish. To help ensure that your project goes smoothly, it’s important to first understand the type of paints that work best with a sprayer.
Latex paints are water-based products made from acrylic resins and have been the most popular choice in recent years because they are durable, dry quickly and easy to clean up after use. Oil-based enamels are also available, but they require more time to dry and need special solvents for cleanup. When choosing between these two types of paint, consider whether you’re working with interior or exterior surfaces, as certain paints are formulated differently for each type of surface.
With indoor applications such as walls or ceilings, you’ll want to select either a low-VOC (Volatile Organic Compound) latex wall paint or an oil-based enamel that provides superior coverage and durability. For outdoor projects such as fences or decks, use either latex house paint specifically designed for outdoor use or higher quality oil-based enamels built for excellent protection against moisture damage.
Once you’ve determined which type of paint is appropriate for your project, it’s time to prepare the surface area and get ready to begin spraying!
Choosing the appropriate combination
Choosing the right combination of compressor size, tip size, pressure setting, fluid and air volume output is essential for achieving a perfectly smooth finish with your paint sprayer. The right mix of components will allow you to apply thin, even coats of paint and provide you with an aesthetically pleasing surface.
When deciding on the proper combination for your paint sprayer, there are several key factors to consider. First, you should select the appropriate tool for your job – airless sprayers are best suited for large projects involving thick materials such as exterior paints or heavier coatings like putty or latex-based primer. HVLP (High Volume Low Pressure) sprayers are typically better suited for smaller projects such as furniture finishing or detailing automotive exteriors.
Next, determine the suggested tip size and pressure setting given by the manufacturer for your chosen material and coating type. Then choose a compressor that is capable of providing the adequate power necessary to deliver both a steady airflow and adequate pressure at the desired settings for that material/coating type. It is important to ensure that all components work together properly – having too much or too little pressure or airflow can cause issues such as sputtering or uneven coats when spraying – so carefully select each element accordingly.
Finally, take into consideration any additional accessories that may be needed such as filters or diffusers which can help further reduce sputtering while also ensuring uniform coverage across larger areas with consistent results every time! With just a bit of research and care taken when selecting both your tools and materials/coating types, you can achieve beautiful complete finishes with ease no matter what project you’re tackling!
Conclusion
Paint sprayers can make painting projects fast, efficient, and produce a professional-grade finish. To achieve a smooth finish, start by maintaining your sprayer and preparing the surface you are going to paint.
Next, adjust the sprayer’s nozzle size and shape to suit the material you’re working with. Choose the appropriate paint for your project and mix it according to manufacturer directions.
Finally, spraying in multiple light coats in a top-to-bottom pattern will result in an even coverage of paint that will dry smoothly and evenly. Remember to go back over any streaks or clumps of paint with a brush once they have dried if necessary.
With these steps in mind, you’ll produce results worthy of any professional painter!
FAQ’S
How do you make a paint sprayer finish smoother?
You can make a paint sprayer finish smoother by using high-quality paint, thinning the paint appropriately, adjusting the spray pattern, and maintaining a consistent distance from the surface while spraying.
Why is my spray paint not spraying smooth?
There can be several reasons why spray paint is not spraying smoothly, such as clogged nozzle, improper thinning of paint, incorrect spray pattern, low-quality paint, or incorrect spraying technique.
Does a paint sprayer give a smooth finish?
Yes, a paint sprayer can give a smooth finish if used correctly with appropriate techniques, settings, and high-quality paint.
Why is my spray paint finish rough?
A spray paint finish can be rough due to various factors, such as low-quality paint, incorrect thinning of paint, clogged nozzle, incorrect spraying technique, or spraying from too far or too close to the surface.
How do you make spray paint shiny?
To make spray paint shiny, you can apply a clear topcoat after the spray paint has dried. Using a high-quality clear coat will protect the paint and give it a glossy shine.
How do I get good results with a paint sprayer?
You can get good results with a paint sprayer by using high-quality paint, appropriately thinning the paint, adjusting the settings and spray pattern, maintaining a consistent distance from the surface, and practicing proper spraying techniques.
Why is my spray paint not shiny?
Spray paint may not be shiny if the paint has not dried properly, the surface is not clean and smooth, or if the clear topcoat was not applied.
What chemical makes paint shine?
Additives such as glossing agents and resins are used to make paint shine and provide a glossy finish.
How many coats of spray paint?
The number of coats of spray paint required depends on the surface, color, and quality of the paint being used. Generally, 2-3 coats are recommended for a smooth, even finish.
What sandpaper for smoothing spray paint?
For smoothing spray paint, you can use fine-grit sandpaper, such as 320-grit or higher. It is important to be gentle while sanding to avoid damaging the paint.
See Also:
- Best paint sprayer for exterior house
- Best paint sprayer for ceiling
- Best paint sprayer for cars
- Best handheld paint sprayer
- Best hvlp paint sprayer


